Getting Started
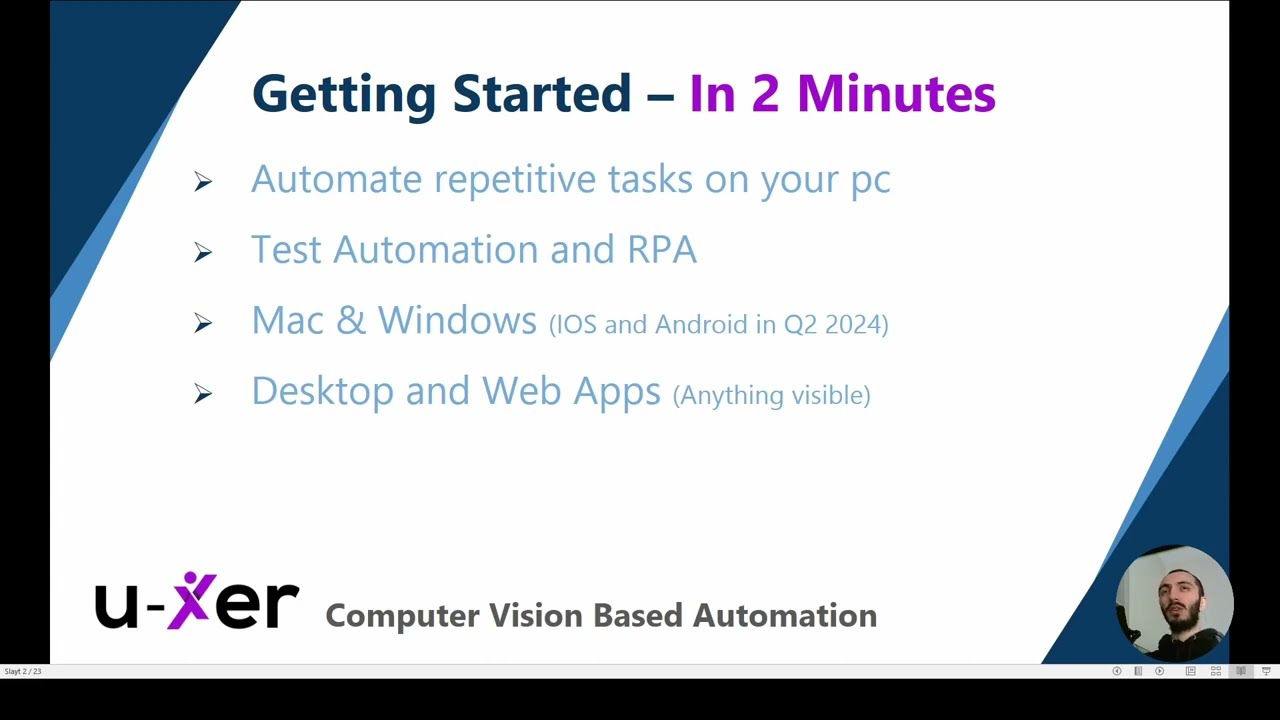
Welcome to U-xer’s Knowledge Base! This guide is your first step towards mastering automation with our computer vision-based test automation and RPA tool. Here, we’ll walk you through creating a simple automation scenario that showcases U-xer’s capabilities and ease of use.
Why Choose U-xer?
- User-Friendly: U-xer’s intuitive AI understands everyday language, streamlining the automation process.
- Platform Independence: Automate across any platform with just screenshots. U-xer’s flexibility allows for seamless automation of web and desktop applications.
- Versatile Automation: Beyond traditional tasks, U-xer can automate interactions with 3D elements, images, games, and more.
- No Development Environment Needed: Start automating based on designs, without writing a line of code.
1. Creating Your First Automation Scenario in 2 minutes
Tutorial Overview: In our featured video, Zek, the co-founder of U-xer, demonstrates how to swiftly create an automation scenario from scratch. The scenario involves opening the Chrome browser, navigating to Wikipedia, and executing a login procedure—all within a span of two minutes.
Explore Different Modes:
- Basic Mode: For users seeking a straightforward approach to automation.
- Code Editor Mode: For those who prefer more control and the ability to input or edit code directly.
- Generative Scenario Assistant: Utilizing AI to assist in generating scenarios from descriptions.
We encourage you to take advantage of the different modes offered by U-xer to optimize your automation process according to your needs.
Get Connected: Should you have any inquiries or require further assistance, please do not hesitate to reach out through our community forum at community.u-xer.com. Engage with other users and share your experiences.
Stay Updated: Remember to check back for more tutorials and insights on leveraging U-xer’s full potential. Embrace the efficiency of automation and transform your workflow with U-xer.
2. Registering Your Agent and Running Your First Scenario on Windows
After creating your automation scenario, it’s time to bring it to life on a Windows system. This tutorial guides you through the necessary steps to set up and run your U-xer scenario.
Installation and Setup:
- Download the agent from the Agent tab.
- Install the Windows agent on your computer or a remote machine (required to execute scenarios) .
- Resolve any installation issues by temporarily disabling your antivirus and firewall.
- Register the agent within U-xer.
- Ensure the agent’s status is ‘connected’ for execution readiness.
Execution:
- Run the scenario from the Scenario Editor, the Project page, or use the Scheduling Wizard for timed execution.
- View execution reports, including relevant screenshots for validation.
3. Registering Your Agent and Running Your First Scenario on MAC
After setting up your first automation scenario in U-xer, it’s time to bring it to life on your Mac. This guide provides a detailed walkthrough on installing the U-xer agent, granting the necessary permissions, registering the agent, and finally, executing your scenario on a Mac.
Step-by-Step Guide:
Install the U-xer Agent
- Navigate to the Agents tab within U-xer.
- Download the Mac agent.
- Open the downloaded file and move it to the Applications folder to complete the installation.
Grant Necessary Permissions
Before starting the agent, Mac requires specific permissions for optimal operation:
- Open System Preferences > Security & Privacy.
- Go to the Accessibility section, click the plus sign, and add the U-xer agent.
- Repeat the process for Screen Recording permission to allow the agent to interact with your screen.
Register the Agent
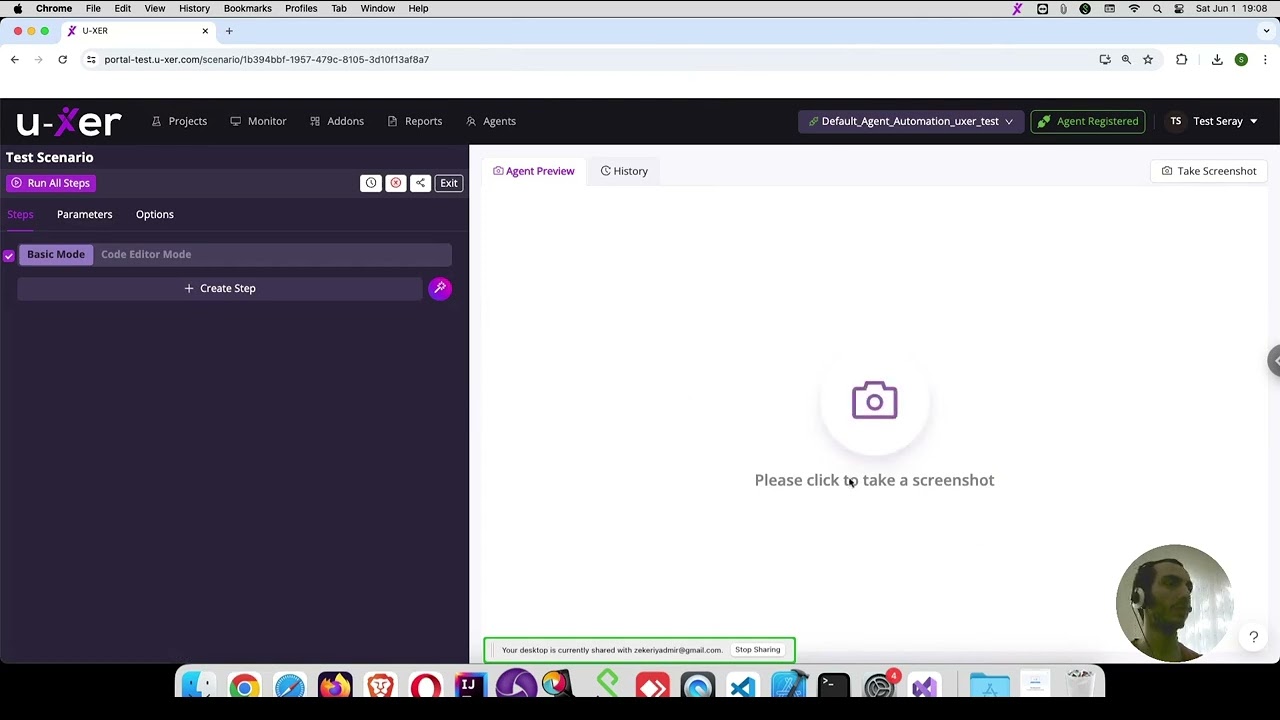
- Upon launching the agent, a “Register Agent” button will appear. Click it.
- Select your agent from the dropdown menu and click “Save”.
- Wait a few seconds for the agent to register. A green indicator means the agent is successfully registered and connected.
Run Your Scenario
With the agent set up, you’re ready to execute your scenario:
- Navigate to the Scenario Editor or Project page, or use the Scheduling Wizard for timed execution.
- Monitor the execution through the Agents tab and check for the green status indicator.
View Execution Reports
- Access detailed reports of your scenario execution, including screenshots, within the Reports section.
4. Common Registration Issues and more detailed videos
Please see the posts and videos where most of the common registrations questions are answered


